Saturday, November 30, 2013

Toy Tree House

You can build a magnificent little toy tree house like this with just a few small logs, glue, and a saw:


A few years ago, I found some good, dry fruit wood, and after borrowing a mitre saw, I cut it into lots of little medallions that were 3/4" thick and about 3-6" in diameter. After an hour of cutting, I had buckets of these little wooden rounds. I did not wax or polish them, just set them out for play and they made lovely free toys.


We still have many of these loose pieces around our house that are played with in all sorts of ways (as cookies, coins, cutting boards), but I was inspired to make a toy tree house after seeing some beautiful examples online (especially here and here).


I carefully cut some branches to make the vertical supports, trying to keep the two cut ends parallel to each other, and then started building stairs from the ground up, using the small wooden rounds and a hot glue gun. (I highly recommend hot glue for this project; it dries quickly, and is very forgiving of uneven and not completely parallel surfaces.) I started with one spiral staircase around a column, and then kept adding more parts to go with the set.

On one tower, I added a railing made from a pine cone and some beach stones, as well as a rope ladder tied to two small holes that are drilled in the floor of the turret:


We have added new elements to this play set again and again, including a magnolia branch in plaster found at a yard sale (perfect for the basket lift), some cool old wooden finials from a broken headboard, ramps and ladders made from popsicle sticks, little wire chairs and a tipi.

Parts or all of this set move from table to floor all around and outside of our house, and I have needed to repair it a few times, but it has always been easy to mend with hot glue. It has seen many hours of play, and is frequently inhabited by kings, pirates, evil-doers and acorns.


(Click on the pictures to enlarge)

If you are inspired to make one of your own, please put a link in the comments or send me some pictures!

Tuesday, June 4, 2013

A Giant Bubble Wand

Want to see something that is truly amazing and incredibly beautiful that you can make with just sticks, string and soap?


Here's what you need:

Bubble solution (recipe to follow)
A ball of cotton kitchen string / butcher's twine
Two sticks around 3 or 4 feet long

Here's what you do:

First, make your bubble solution. Use Dawn Ultra Dishwashing Liquid. Very gently mix one cup of liquid soap with 9 cups of water. This mix gets better with age, so if you make it a few days in advance, you will get some great bubbles! As you can see, we use an empty laundry detergent container to store our bubble solution:


The brand of soap and the water that you use really matters, and this particular combination makes the very best bubble solution around here. If you can't find Dawn, or if you have hard water, go online and I'm sure you will find a great bubble recipe that works for you.

Next, make the wand:


Loosely braid or crochet two long strands of cotton kitchen string. Our finished strands were 44 and 82 inches long, but they don't have to be super exact. If you have someone in your house who is learning to crochet, this could be a perfect project to make with some of those long, loose practice strings.

Finally, tie the ends of the two strands to each other and then tightly to the sticks. Our sticks were 40 inch long dowels, but you can use any long sticks you like. We painted ours with acrylic paints but other decorations could be fun, just remember that they will get very wet.


Now you're ready to make your HUGE bubbles!

Just dip the strings into your bubble solution. Oh, wait... I forgot to mention this part: GO OUTSIDE! Okay, now dip your strings in the bubble solution. Make sure that the strings get completely wet.


Lift them out of the solution and slowly spread the sticks apart. A slight breeze will make your bubble film turn right into a giant bubble, but if the air is still, you may have to move around or wave the wands a bit. If it's too windy, you'll need to find a sheltered spot or wait until the wind dies down. Once you get the hang of it, try opening and closing the sticks to release your bubbles.

Some kids just NEED to pop bubbles, so be sure to make them some that are especially for popping!


Give those little guys a turn with the wand, and they just might make some beautiful bubbles of their own!

Thursday, May 23, 2013

Not Far from the Tree

This is what I found in Julio's pocket the other day when I was doing laundry:


Why does this little collection make me so happy?

Monday, April 15, 2013

Feathers on the Felt Board

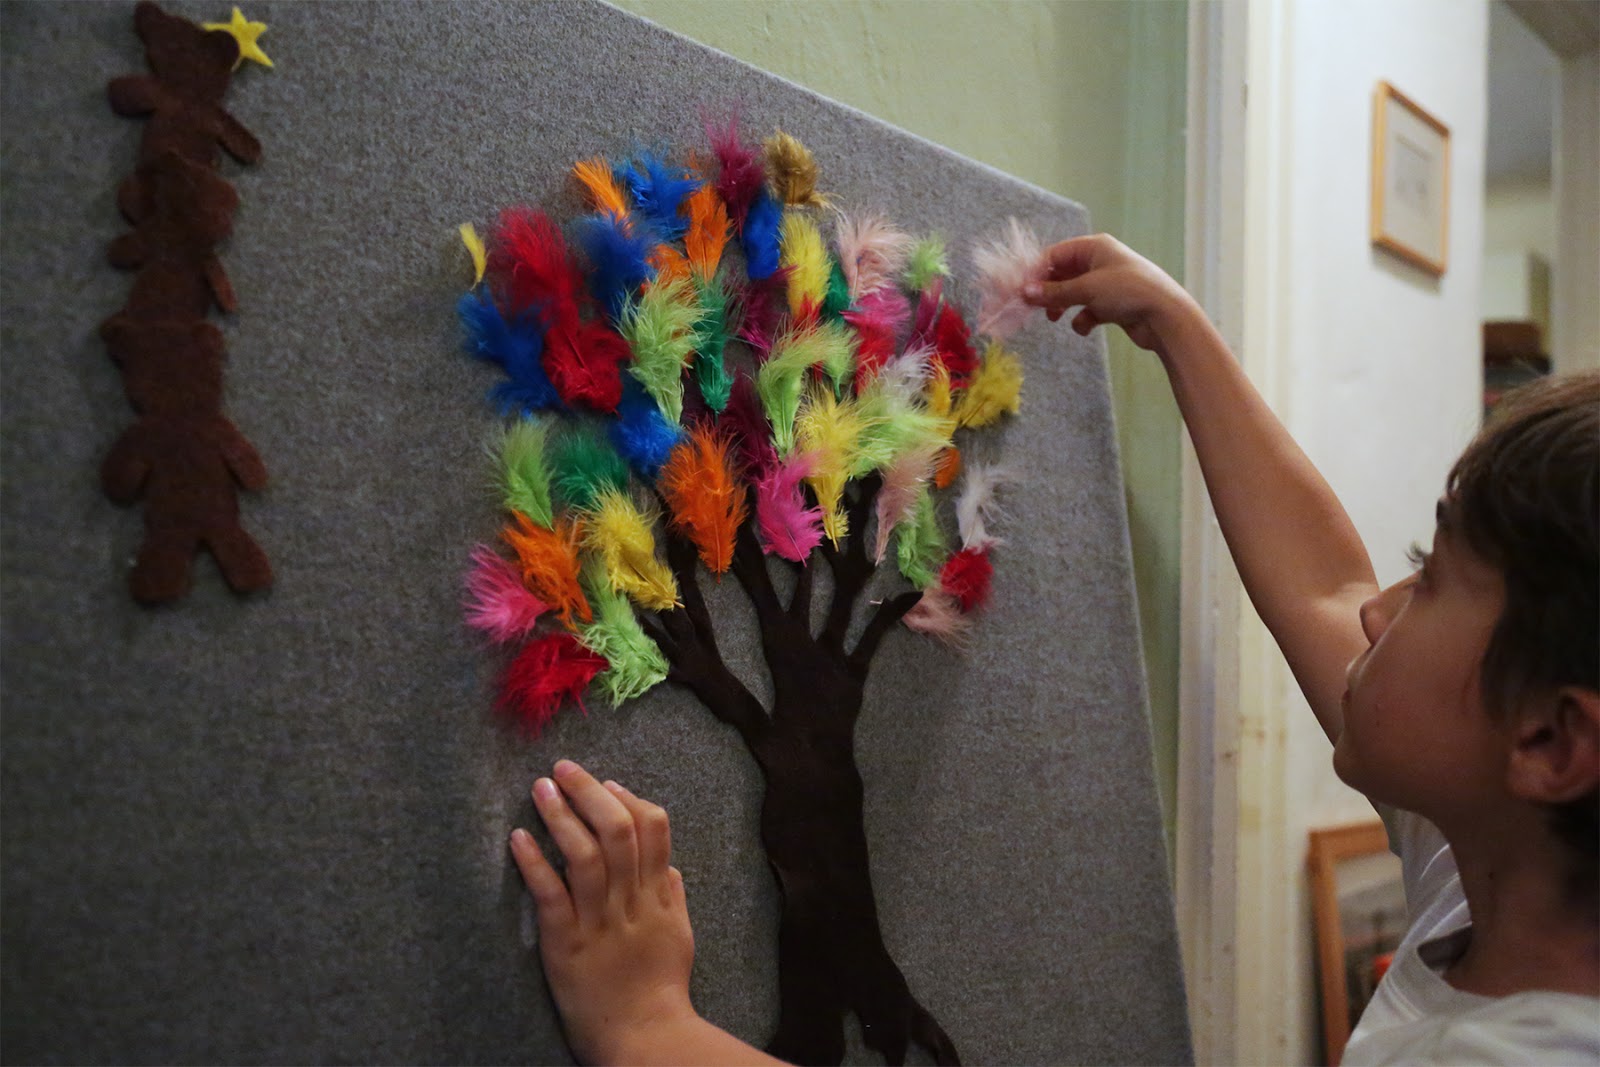
Did you know that little, downy feathers stick to felt?  Yesterday, I overheard Julio talking to himself at the felt board, "I wonder if this sticks here. Yep. It does."  He left a small blue feather stuck on the board.  Today, I put a jar of feathers by the felt board and the kids took the idea a bit further.


This was a fun fine-motor activity.  The feathers require some delicate placement or else they easily fall off or blow away.


Julio and a friend worked on this tree earlier today, and then Diego and I added some more to it this afternoon.  When we were done, Diego blew lightly on the feathers and we watched them all flutter without blowing away.  It gave the tree a cool animated effect that we normally don't see on the felt board.

This feather and felt combination has some great potential, and I can't wait to see where they go with it next!

Monday, March 4, 2013

Woody Guthrie

I was driving down the road, having one of my usual conversations with my three year old, when this great old Woody Guthrie song came on:


As far as I can tell, this song is all about three year olds.  And, as I'm sure you can imagine, these old lyrics inspired a barrage of new questions!

Saturday, December 22, 2012

Easy Felt Board & Felt Christmas Tree

Here is a simple felt board tree that we have all been enjoying for the past few weeks:


This tree has been decorated and redecorated many times, and the kids have also had fun cutting out some of their own ornaments and presents.  I made the tree in sections so that they could assemble it themselves.  Here's how:


Do you have a felt board?  I made a very easy one last year.  I covered a 20"x30" piece of foam board with grey felt, stretched it tight and taped it on the back with packing tape.  It was a gift for a two year old, so I also made some very bold, geometric shapes in black, white, red and yellow: squares, circles,  semi-circles and rectangles, all about 1 to 4 inches in size.

I intended to mount it on the wall or find a better way to attach the felt to the board, but it has held up very well as it is, and the lightness and portability of the foam board have made it easy for small kids to carry it around and lay it on the floor or lean it against the wall.  Here's the "temporary" taping on the back:


I highly recommend this toy for two to five year olds.  It gets played with a lot at our house, and over the past year it has had many different scenes on it, including: a bear family with tree house, an autumn tree with falling leaves, jack-o-lanterns, children with pets, farm animals, and more.  Usually I cut out the shapes that my kids request, but sometimes they make their own.  They love moving the pieces around and acting out scenarios with the characters, so if you are looking for a gift for a child who is often playing with little animals or figurines and making up voices and actions for them, this is perfect.

I made our felt board and pieces using inexpensive acrylic felt, but have since learned that felt that is at least 50% wool clings better and is less likely to fall off on the floor. If you don't have foam board, I'm sure a thick cardboard or a thin plywood would work as well.